 a journal of interesting technical ideas . . . a journal of interesting technical ideas . . .
 I work in Windows from time to time. Writing the article on the Tilix Powerline setup made me realize that I wanted a similar spiffy prompt in Windows. Let’s step through how to set that up!
The Windows Terminal is a nice addition to Windows, but doesn’t ship with Windows 10. It is a terminal in the Linux-sense, and support tabs and customizations. Alas, it doesn’t do tiling, but it supports Command Line, Powershell, WSL, SSH, and Azure Cloud. The simplest way to get it is from the Windows Store, but you can also use the link above.
I prefer JetBrains Mono, but this is definitely a question of art. Microsoft’s Cascadia is one option. Other options, like the excellent Inconsolata can be found at sites like Nerd Fonts or Programming Fonts.
Because Powerline support Git, I recommend going ahead and getting it installed so you can see it work. You can download and install it from .
Open a Powershell session and install the posh-git and oh-my-posh add-ins.
Install-Module posh-git -Scope CurrentUser
Install-Module oh-my-posh -Scope CurrentUser
Enable these modules to start with each new session via the terminal profile. To open the profile, type notepad $profile.
#add these lines
Import-Module posh-git
Import-Module oh-my-posh
Set-Theme agnoster
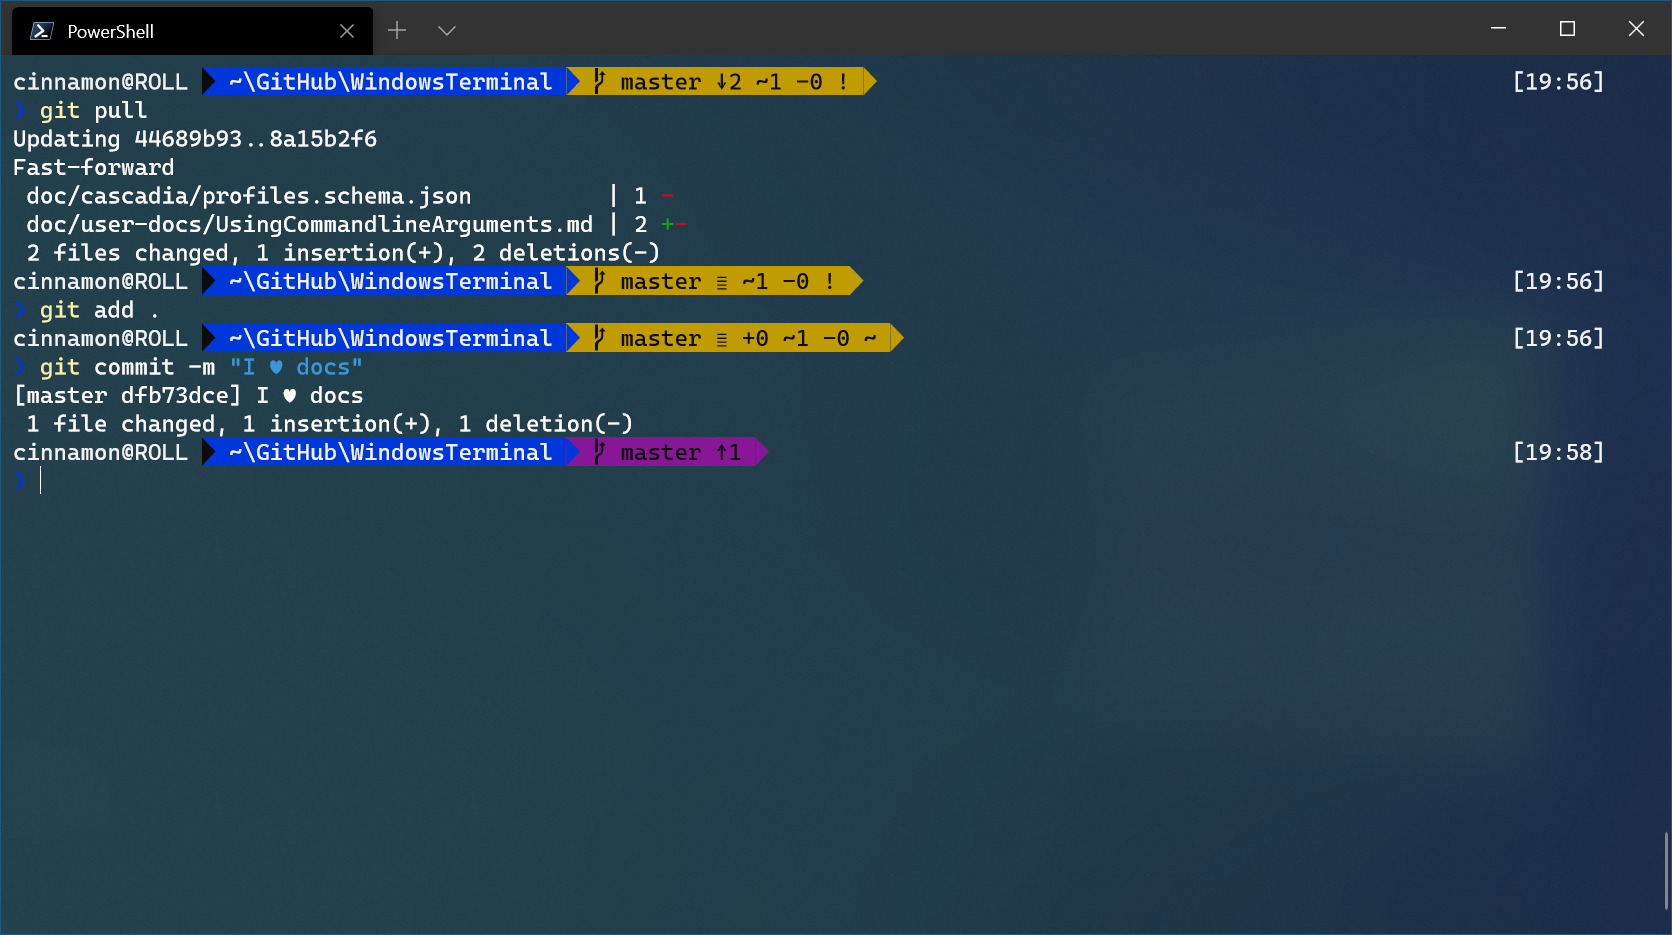
Note that many themes are pre-built for oh-my-posh. Refer to the github site to see samples. Agnoster is my personal favorite because it’s less busy and keeps the prompt on one line.
 Next, you’ll need to update the terminal settings to use the font. In Windows Termianl, go to Menu > settings (this will open VSCode if you have it installed). Search for the profiles section and add the fontFace directive as shown below. Note that we’re setting up Powerline to work with Powershell, not in the other environments, but I also went into the Command Prompt, Ubuntu, and Azure sections and changed them to use my new font.
    "profiles":
    {
      "defaults":
      {
       // Put settings here that you want to apply to all profiles.
      },
      "list":
        [
          {
            // Make changes here to the powershell.exe profile.
            "guid": "{61c54bbd-c2c6-5271-96e7-009a87ff44bf}",
            "name": "Windows PowerShell",
            "commandline": "powershell.exe",
            __"fontFace": "JetBrains Mono",__
            "hidden": false
            },
##Step 4 - Setup in WSL For WSL, we’ll add a Go version of powerline.
sudo apt install golang-go
go get -u github.com/justjanne/powerline-go
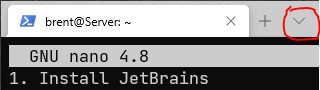
and then edit the terminal settings to make sure it’s used to display new lines. Edit via nano ~/.bashrc and add the following snippet to the end.
GOPATH=$HOME/go
function _update_ps1() {
  PS1="$($GOPATH/bin/powerline-go -error $?)"
}
if [ "$TERM" != "linux" ] && [ -f "$GOPATH/bin/powerline-go" ]; then
  PROMPT_COMMAND="_update_ps1; $PROMPT_COMMAND"
fi
Voila! You should have Powerline functionality and cool fonts working in the different prompts available in Windows.