 a journal of interesting technical ideas . . . a journal of interesting technical ideas . . .
Pop! OS has spoiled me. I used to try to slide windows left and right across multiple monitors to get them to all fit. My current workflow on Pop! is to enable tiling on my 4K display and then use multiple desktops if I need to divide my work areas. I’ve recently been using Windows more and set out to recreate that workflow. I won’t claim an exhaustive search, but here is the way I’ve currently setup my Windows PC.
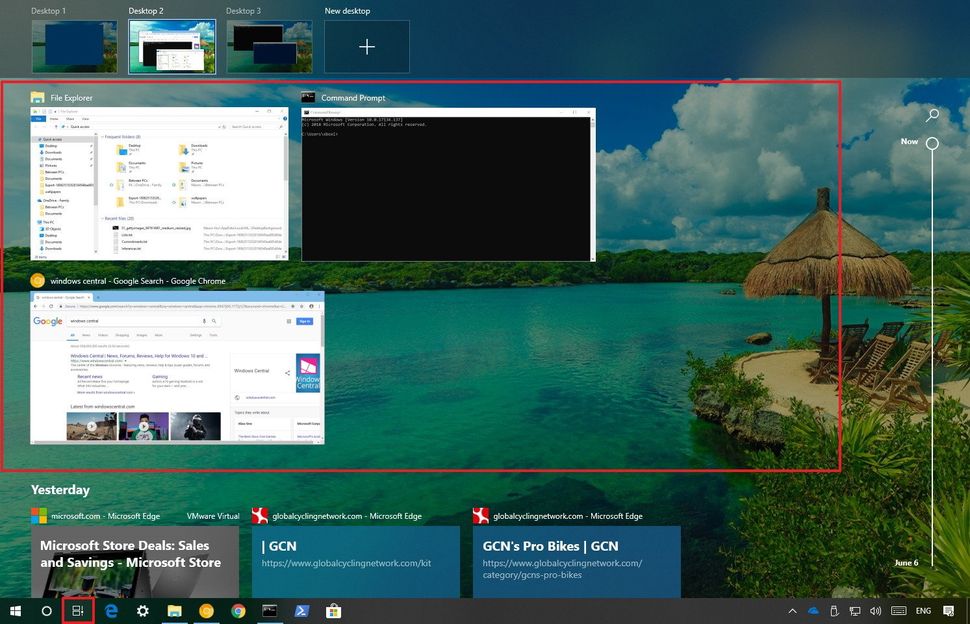
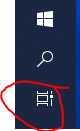 This is the easy part, as Windows 10 and later support multiple desktops. Click the “task view” button on your task bar and open windows will all be displayed. At the top of the screen is a list of desktops and a “New Desktop” button. The image here shows the button you are looking for.
 If you don’t see task view, right click on the task bar and select “show task view”. You can also use the TAB+WIN combination to jump to the task view.
In the Task View exploded screen, you can click and drag any open window to any desktop (similar to Gnome). This makes creating a workspace a snap. I wasn’t able to screenshot task view, so the picture is from Windows Central.
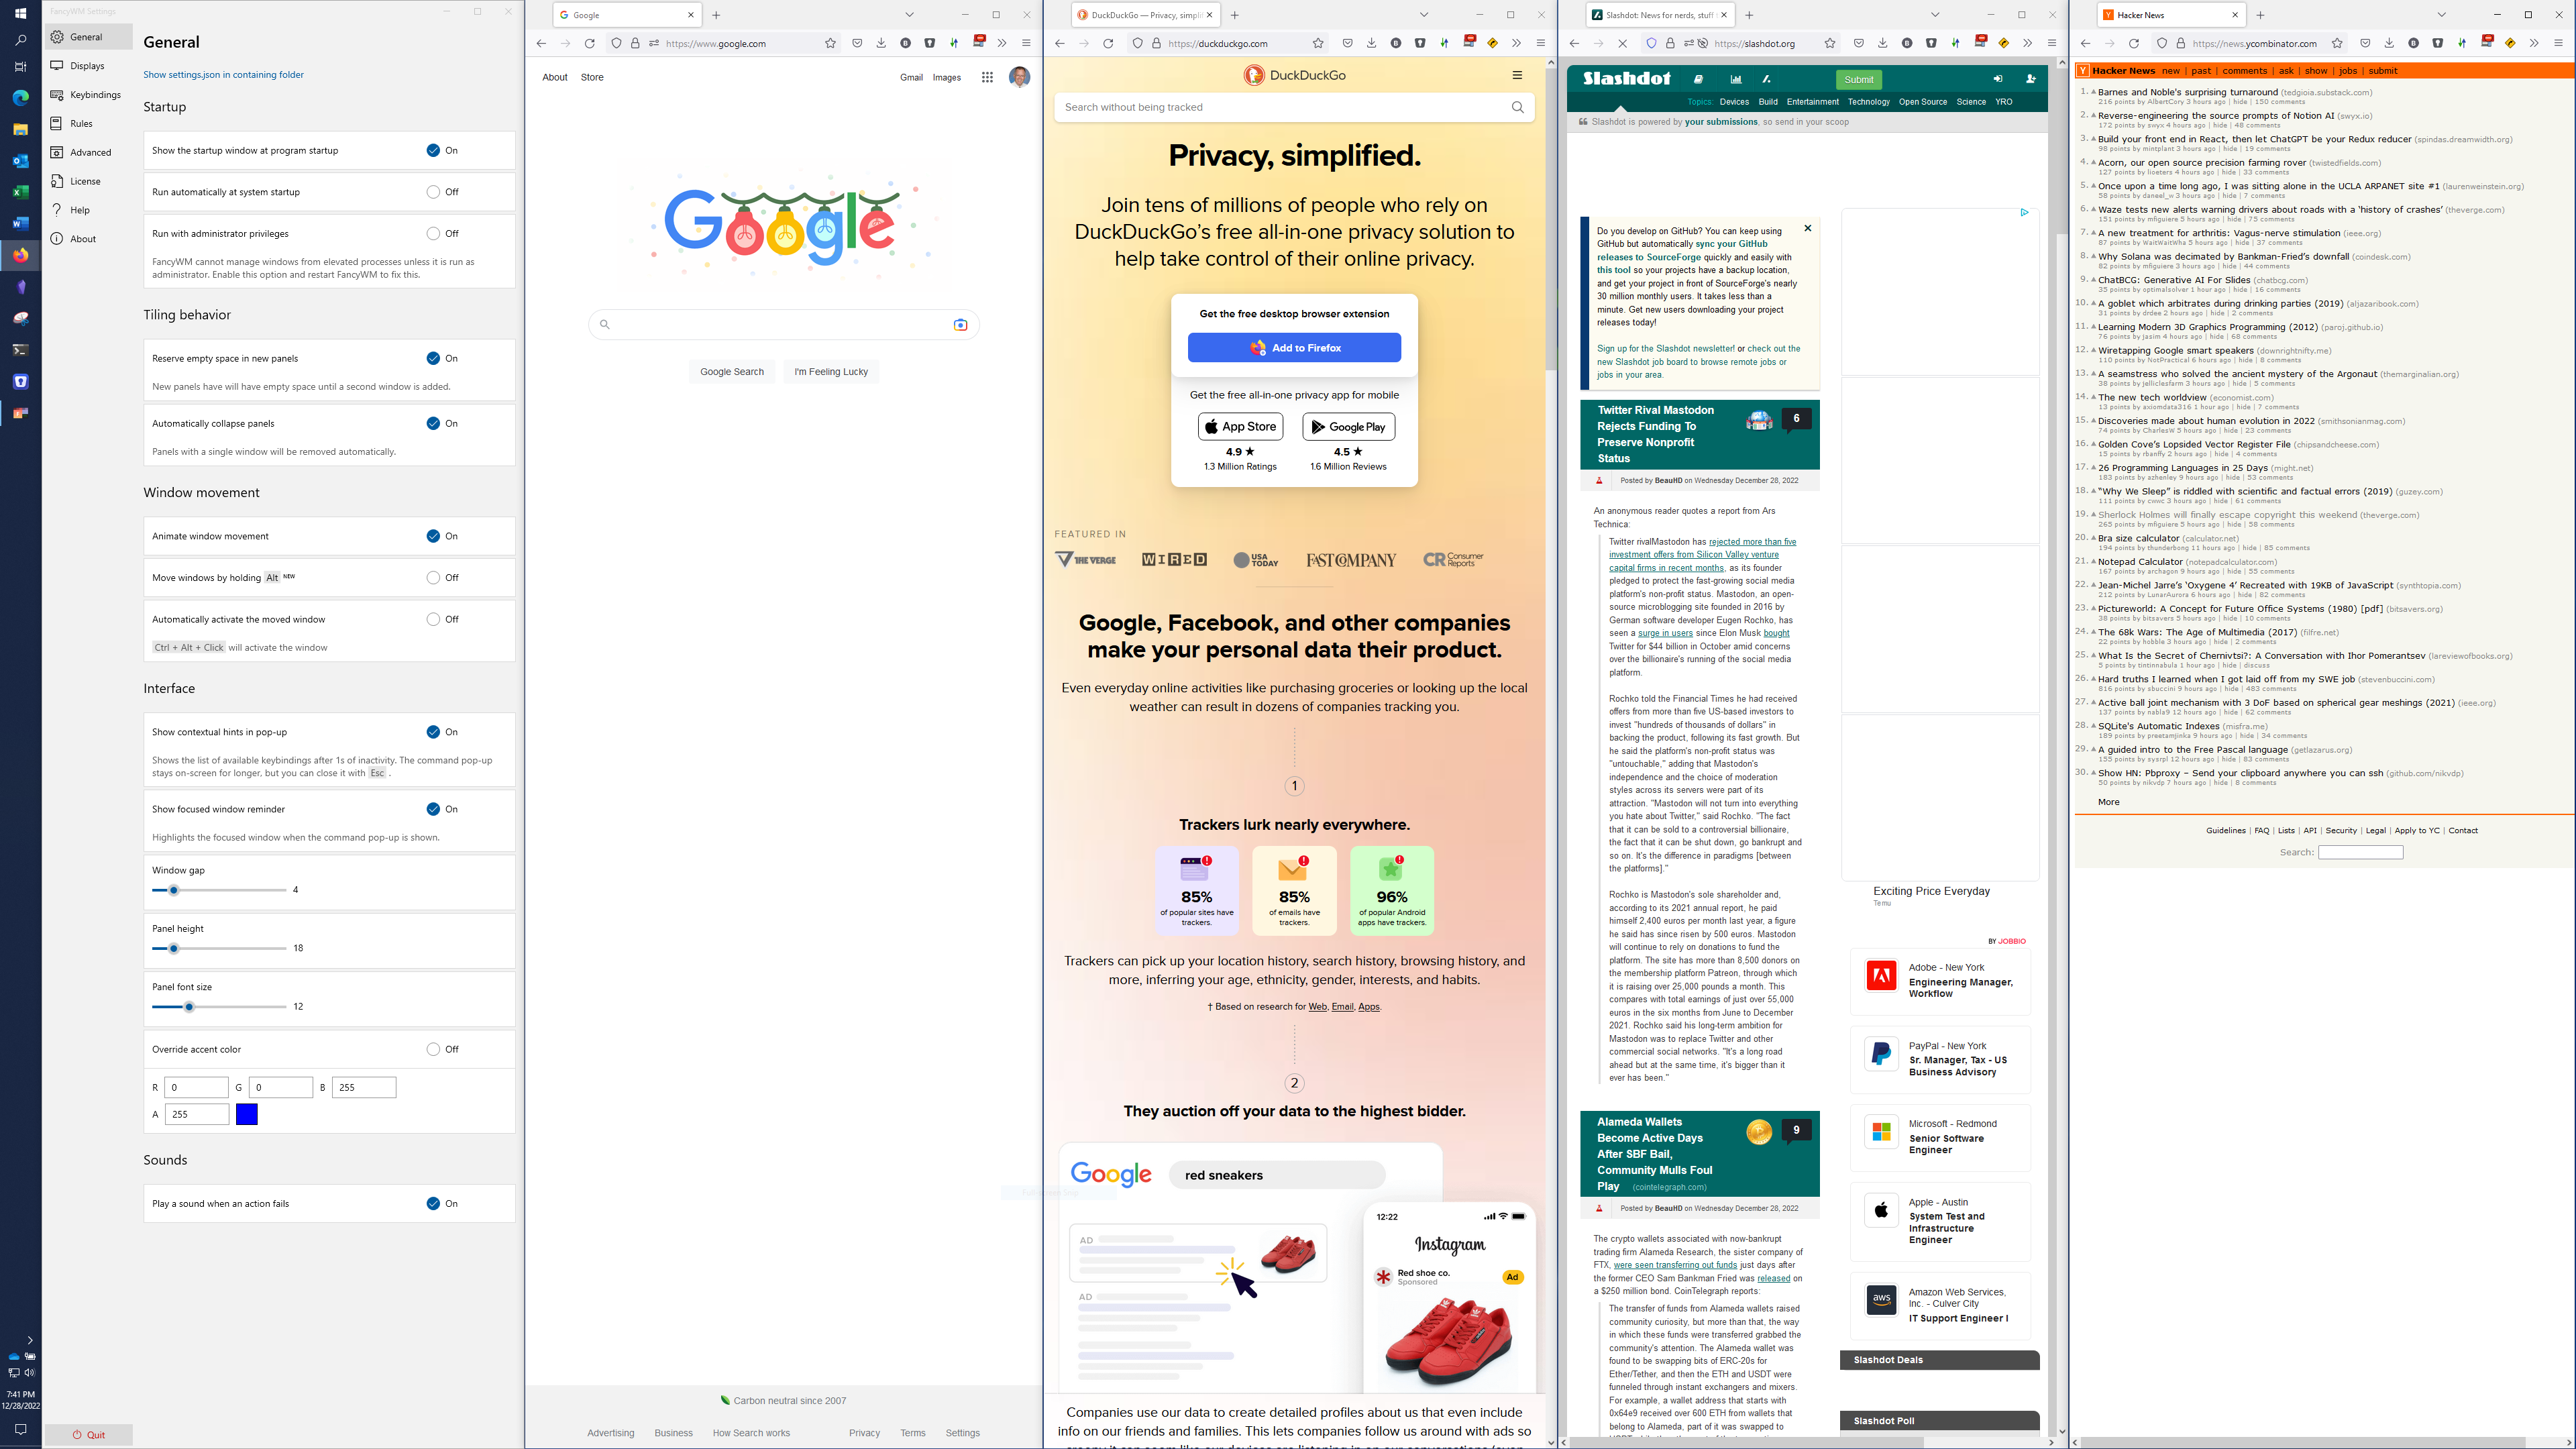 FancyWM is a dynamically tiling window manager for Windows 10/11. It’s not as automated and intuitive as Pop!, but it provides a serviceable level of tiling.
When running, FancyWM responds to the Shift+WIN key combination, with an additional key to tell it what kind of action to take. It supports vertical (Shift+WIN, “v”) or horizontal stacks (Shift+WIN, “h”). Once a stack is created around one window, other windows can be dragged into it (similar to COSMIC). FancyWM also supports floating (non-tiled, Shift+WIN, “f”) windows and stacked (Shift+WIN,“s”). You can create rules so that particular applications always run in “floating” mode as well.
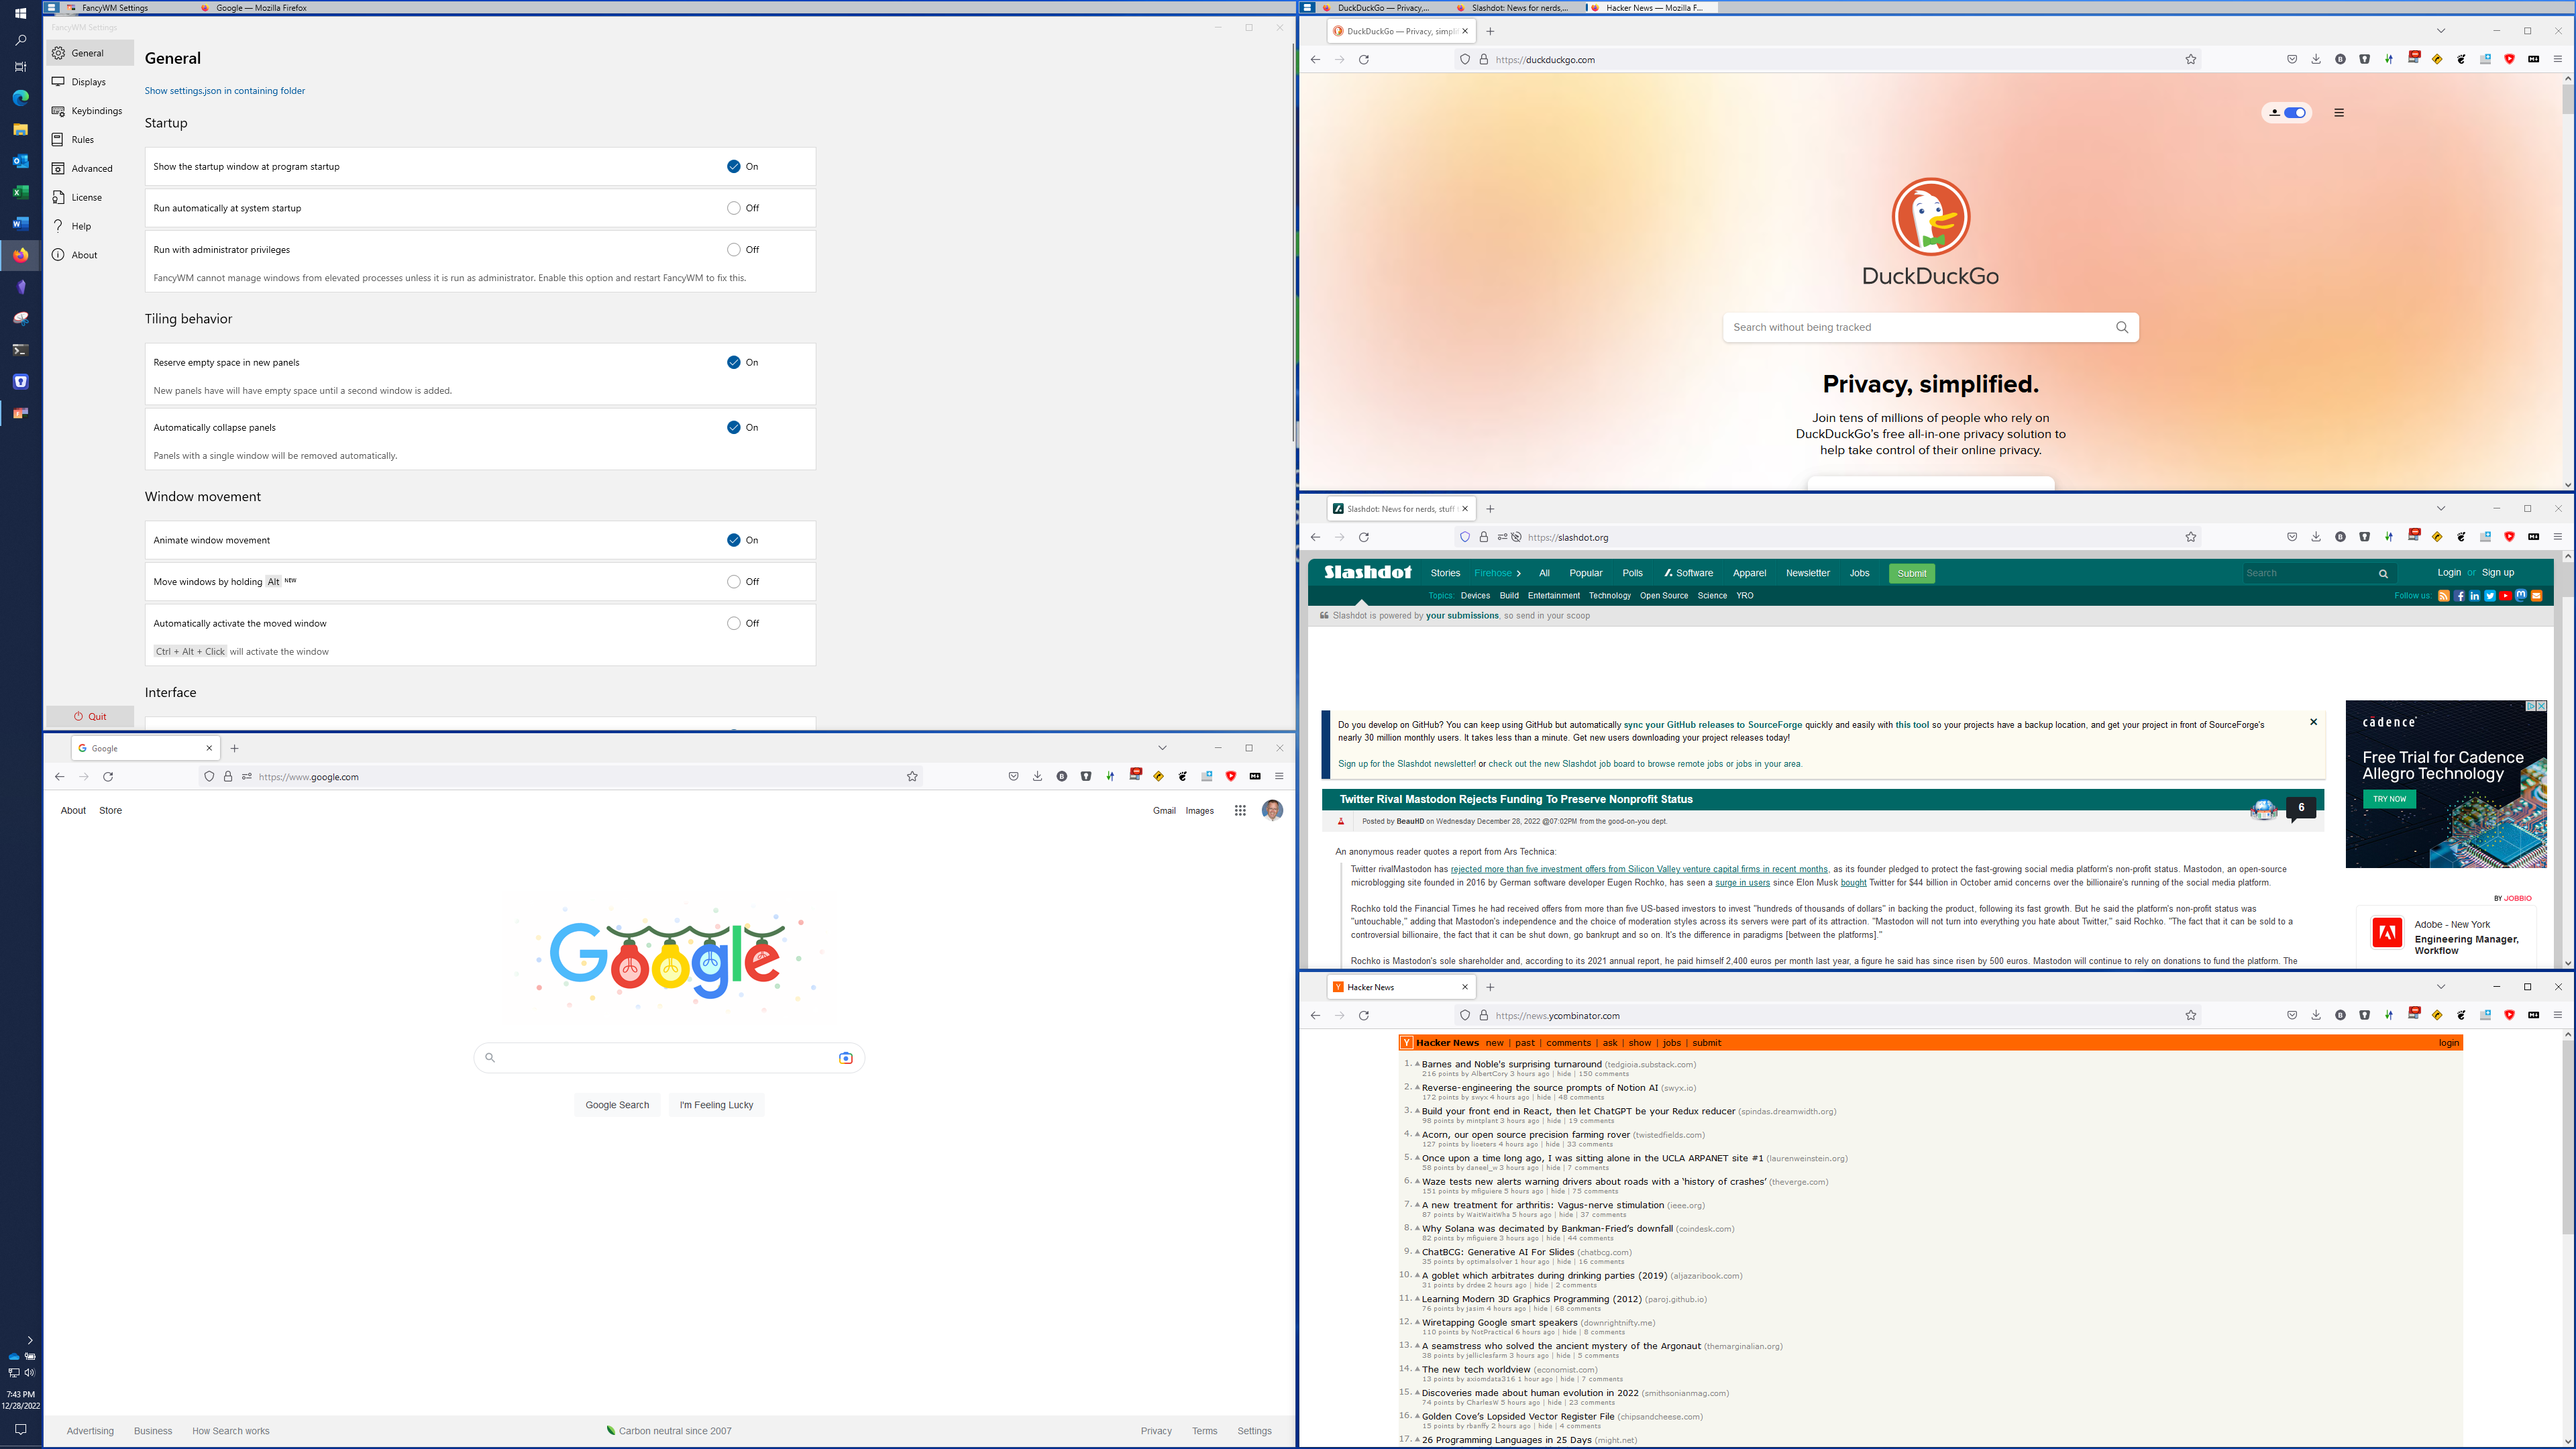 There are two screenshots shown. In the first, I opened a series of new windows on an empty desktop. FancyWM automatically stripped them vertically, adjusting as new windows are added. I then selected the first window and created a vertical stack using Shift+WIN “v”. I was then able to drag other windows under the first to form a stack. Each window caused the stack to divide vertically.. You can see a stack of two and a stack of three in the second picture.
FancyWM supports multiple displays and multiple desktops. I found this to be a little glitchy as windows moved displays, but it corrected itself over time. FancyWM is licensed, but will run without a license and “nag”. It’s available from the Windows Store.